When I started gardening, my mom bought me a big package of seeds. I didn’t even thing about starting my garden from seed, but I was instantly intrigued and decided to do it. I’ve been starting my plants from seed ever since! There’s nothing like seeing a plant grow from seedling to harvest. I think it’s important to know how to start and save seeds for food security in the future. If you are starting your garden for the first time this year, start with seeds! I promise you won’t regret it.
Why Should I Start My Plants from Seed?
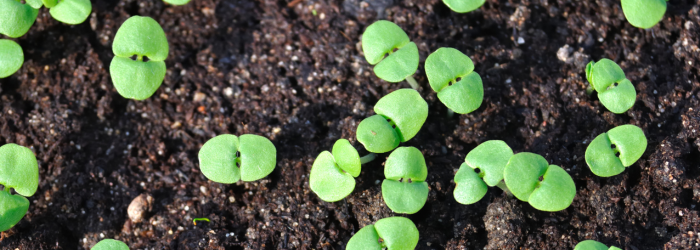
Starting plants from seed is a rewarding experience that offers both practical and personal benefits. It allows you to have more control over your garden, and it can save you money in the long run. But like anything, there are both pros and cons to consider before you dive in.
Pros of Starting Plants from Seed
- Cost-Effective: Purchasing seed packets is often much cheaper than buying pre-grown plants, especially if you want to grow a large quantity.
- Variety: Starting from seed gives you access to a wider range of plant varieties, including rare or heirloom varieties that might not be available at your local garden center.
- Stronger Plants: Starting seeds indoors gives you the chance to nurture your plants from day one, ensuring they are strong and healthy when they’re ready to be transplanted outdoors.
- Satisfaction: There’s a unique satisfaction in growing your plants from seed, watching them sprout, and seeing them flourish into something you can harvest and enjoy.
Cons of Starting Plants from Seed
- Time-Consuming: Starting plants from seed requires patience. Seeds need time to germinate, and seedlings need nurturing before they’re strong enough to go outside.
- Space Requirements: You’ll need space to grow your seedlings indoors, especially if you’re growing a large variety or many plants at once.
- Risk of Failure: Not every seed will germinate, and some seedlings may not survive the transition to outdoor conditions, especially if the process is rushed or not carefully managed.
What Do I Need to Start My Plants from Seed?
Starting plants from seed doesn’t require much, but you’ll need the right materials to ensure success. Here’s what you’ll need to get started:
Materials You’ll Need:
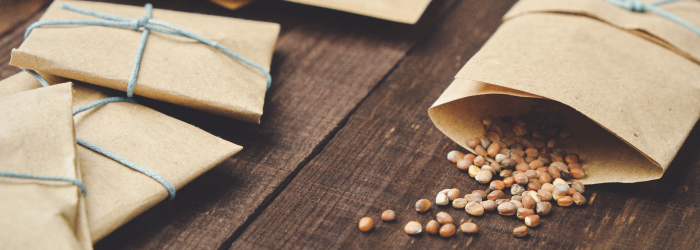
- Seed packets: Choose seeds for plants that are suitable for your climate and gardening zone.
- Seed trays or pots: You can use plastic seed trays, biodegradable pots, or any containers with drainage holes.
- Seed-starting mix: A light, well-draining mix designed specifically for seed starting. Avoid using regular garden soil, which may be too dense. I like to use coco coir with some compost and perlite mixed in a 3-3-1 ratio. I’ve also had success with a premade seed-starting mix.
- Grow lights or sunny window: If you’re starting your seeds indoors, you’ll need access to bright light. Grow lights are ideal, but a sunny windowsill can work as well.
- Watering can: For gentle watering of your seedlings. A spray bottle or fine nozzle watering can works best.
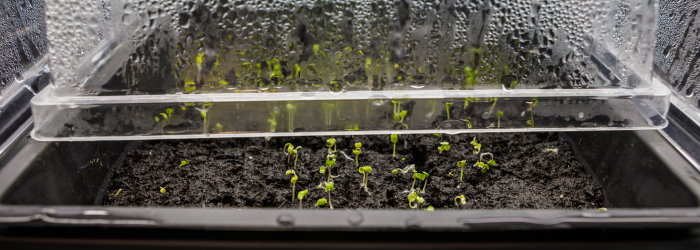
- Plastic cover or dome: This helps create a warm, humid environment that encourages germination. A plastic dome, a clear plastic wrap, or even a plastic bag can work.
- Labels: Mark the types of seeds you’re planting and the dates you started them. This will help you keep track of when to expect them to sprout.
When Should I Start My Plants from Seed?
Timing is crucial when starting plants from seed. Start too early, and your plants may outgrow their containers before it’s time to transplant them. Start too late, and they might not have enough time to mature before the growing season ends.
What Do You Want to Grow?
The type of plants you want to grow will dictate when you start your seeds. Some plants, like tomatoes and peppers, need to be started indoors several weeks before the last frost date, while others, like lettuce or beans, can be directly sown outdoors.
Where Will You Grow Your Plants?
Consider your growing environment—whether you’re starting plants indoors (in a controlled space with grow lights) or directly in your garden. If you’re starting indoors, you’ll need a space with enough light and temperature control.
What Zone Are You In?
Your hardiness zone plays a key role in deciding when to start seeds. Different zones have varying frost dates, and knowing your zone will help you determine the right timing for starting seeds indoors. You can look up your zone on the USDA Plant Hardiness Zone Map, and this will guide you on when to plant both indoors and outdoors.
How Do I Start My Plants from Seed?
Now that you have everything you need, let’s dive into the process of starting seeds!
1. Prepare Your Containers
Fill your seed trays or pots with a seed-starting mix, leaving a small gap at the top to avoid spillage when watering. Gently press down to remove any air pockets, but don’t compact the soil too much.
2. Plant Your Seeds
Check the instructions on the seed packet for the recommended planting depth. Some seeds need to be lightly pressed into the soil, while others should be covered with a thin layer of soil. Plant two to three seeds per container to increase the chances of germination.
3. Water Gently
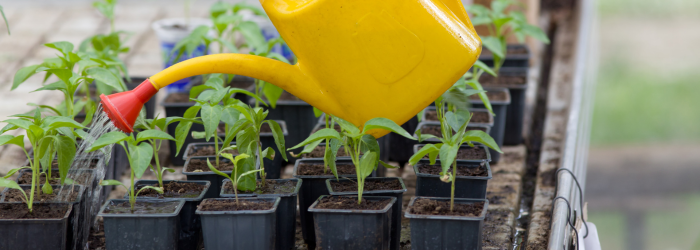
Water the soil gently using a spray bottle or a fine nozzle watering can. Keep the soil moist but not waterlogged. Ensure the water drains freely from the bottom of your containers.
4. Provide Warmth and Light
Place your containers in a warm spot (ideal germination temperature is typically between 65–75°F). If starting indoors, set up grow lights about 2–4 inches above the seedlings to provide consistent light for 12–16 hours a day. If using a windowsill, ensure the plants get plenty of sunlight but protect them from drafts or extreme temperatures.
5. Maintain Humidity
Cover your seed trays with a plastic dome or a clear plastic wrap to maintain humidity, which helps the seeds germinate. Once the seedlings begin to sprout, remove the plastic cover to prevent mold growth and improve air circulation.
Aftercare: Nurturing Your Seedlings
Once your seeds have sprouted and are growing strong, here’s how to care for them:
- Thin Out the Seedlings: If multiple seeds sprouted in one pot, thin them out by removing the weakest seedlings, leaving the strongest one in each container. This helps prevent overcrowding and allows the remaining plant to grow strong.
- Provide Adequate Light: Keep the seedlings in a sunny spot or under grow lights. If using grow lights, make sure to raise the light as the plants grow taller to avoid them getting “leggy” (spindly with weak stems).
- Watering: Keep the soil evenly moist, but be cautious not to overwater. Seedlings are delicate, and too much water can cause root rot.
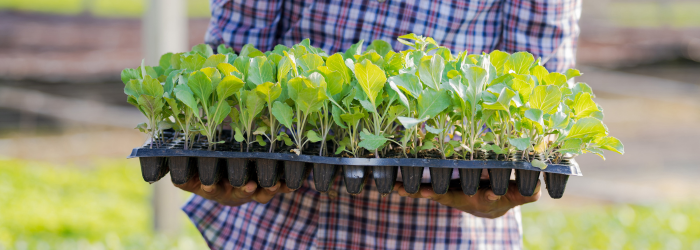
- Hardening Off: Before transplanting seedlings into the garden, gradually expose them to outdoor conditions in a process called “hardening off.” Start by placing them outside in a sheltered spot for a few hours a day and gradually increase the exposure over a week. This helps them adjust to the wind, sun, and temperature fluctuations.
- Transplanting: When your seedlings have grown large enough and the outdoor conditions are right, you can transplant them into your garden or larger containers. Be sure to transplant them during the right time of year based on your hardiness zone.
Conclusion
Starting plants from seed may take a little extra time and care, but the rewards are worth it. You’ll save money, have more variety, and feel more connected to your plants from the very start. Plus, there’s nothing quite like seeing your hard work come to life in your garden! Whether you’re growing vegetables, herbs, or flowers, starting from seed is a great way to nurture your green thumb and enjoy the entire growing process from the ground up.
Are you planning to start your garden from seed this year? Share your questions or any concerns you might have in the comments below—I’d love to help! If you’ve already begun the process, tell us how it’s going and what you’re growing. Let’s grow together! Happy gardening!


Leave a Reply